
Reveal the route in one sentence
Before you leave the diner
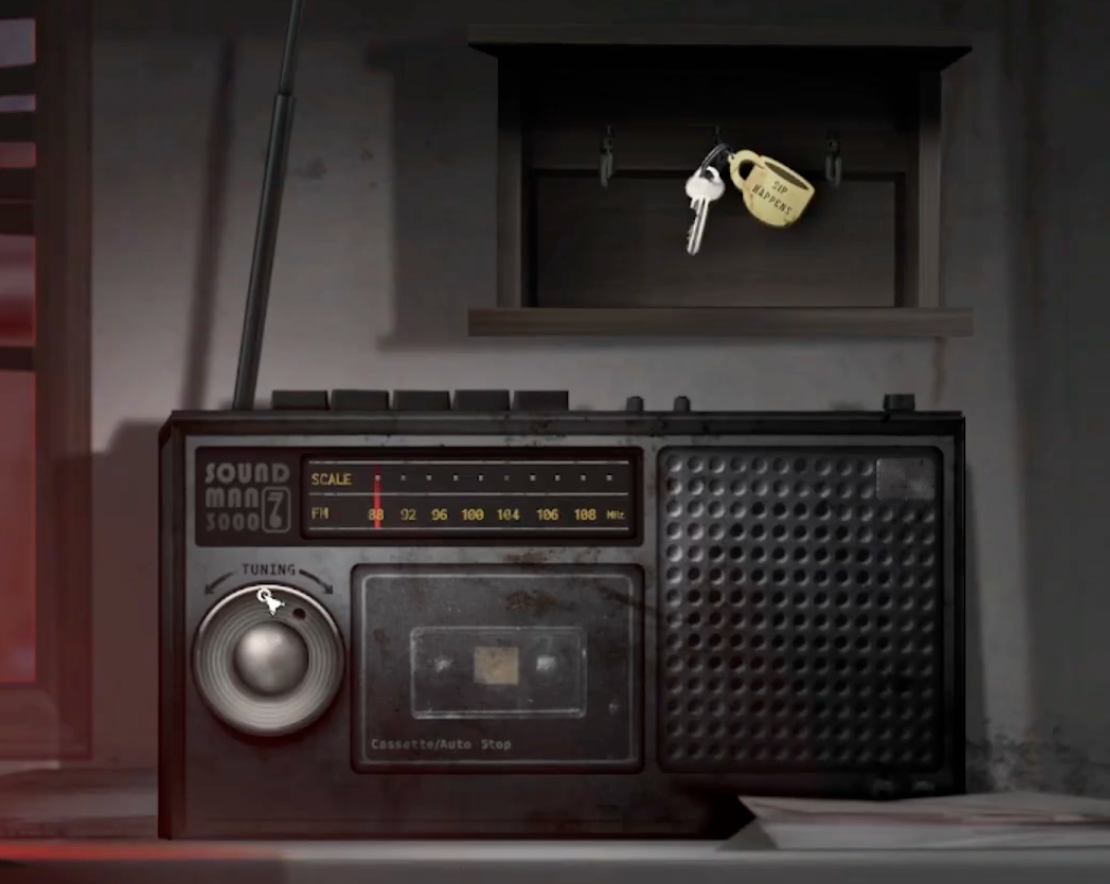
Do not rush straight to the exit when the demo gives you control. Search the diner first. The memorial plaque identifies the location, while the radio explains that Silver Pines is under an evacuation order. These details establish what is happening in town and give you time to collect the useful items in the room.

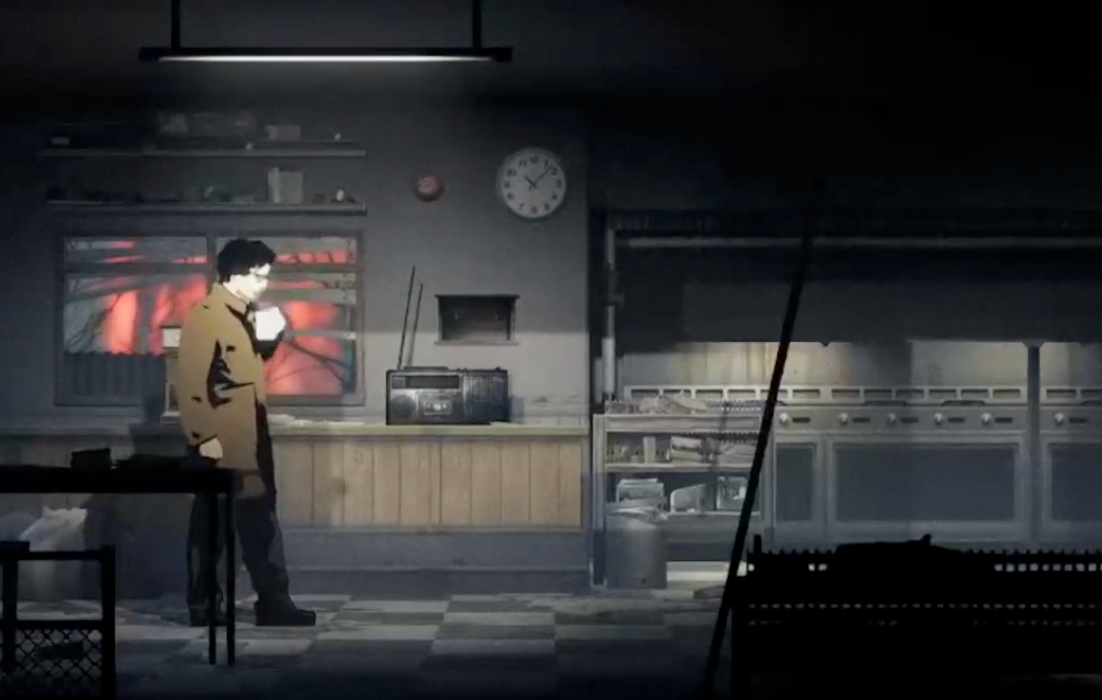
The coffee machine is more than environmental flavor. Drinking the coffee increases Red Walker's maximum stamina, so take it before committing to the longer motel and General Store routes. Treat later coffee pickups as upgrades rather than ordinary healing items.
How saving works
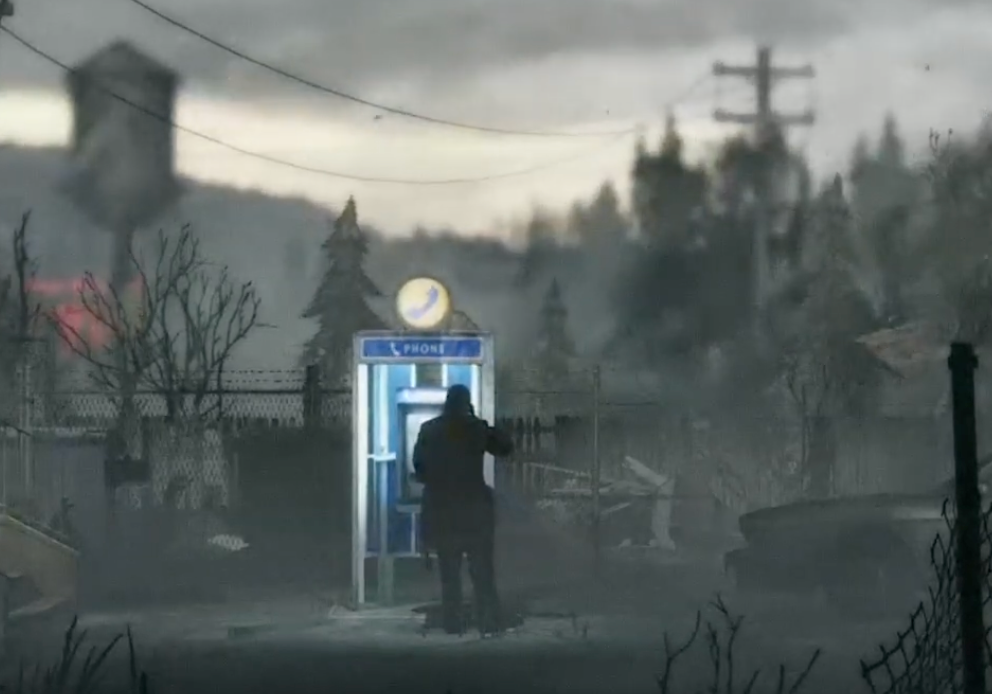
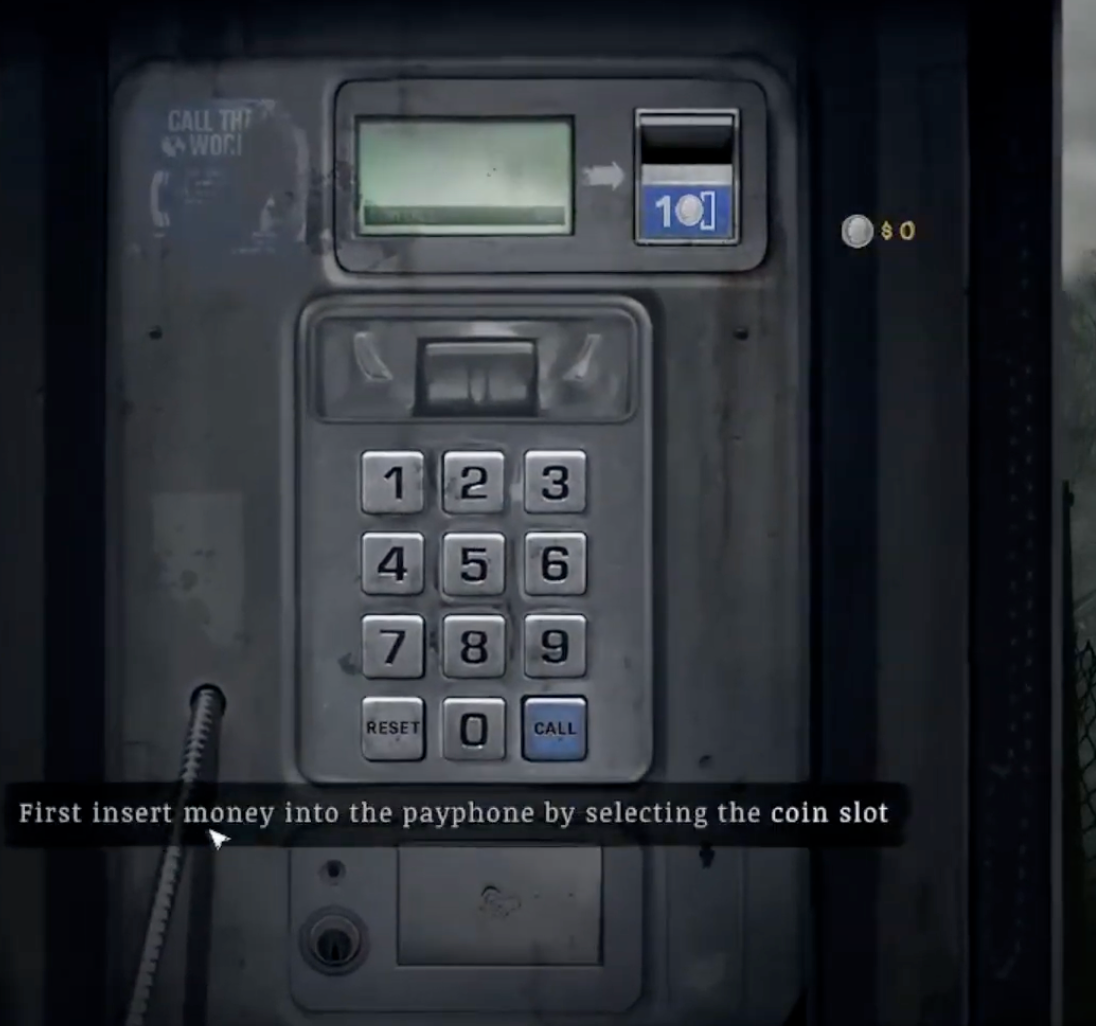
Silver Pines uses payphones as save points in the demo. When you find one, interact with the coin slot first and insert a coin. Then open the address book, dial the entry marked for saving, and press the Call button.
A phone in the environment is not automatically a free save: you still need a coin and the correct address-book entry. Saving before a new building, an unfamiliar keypad, or the tunnel encounter is usually worth the cost.
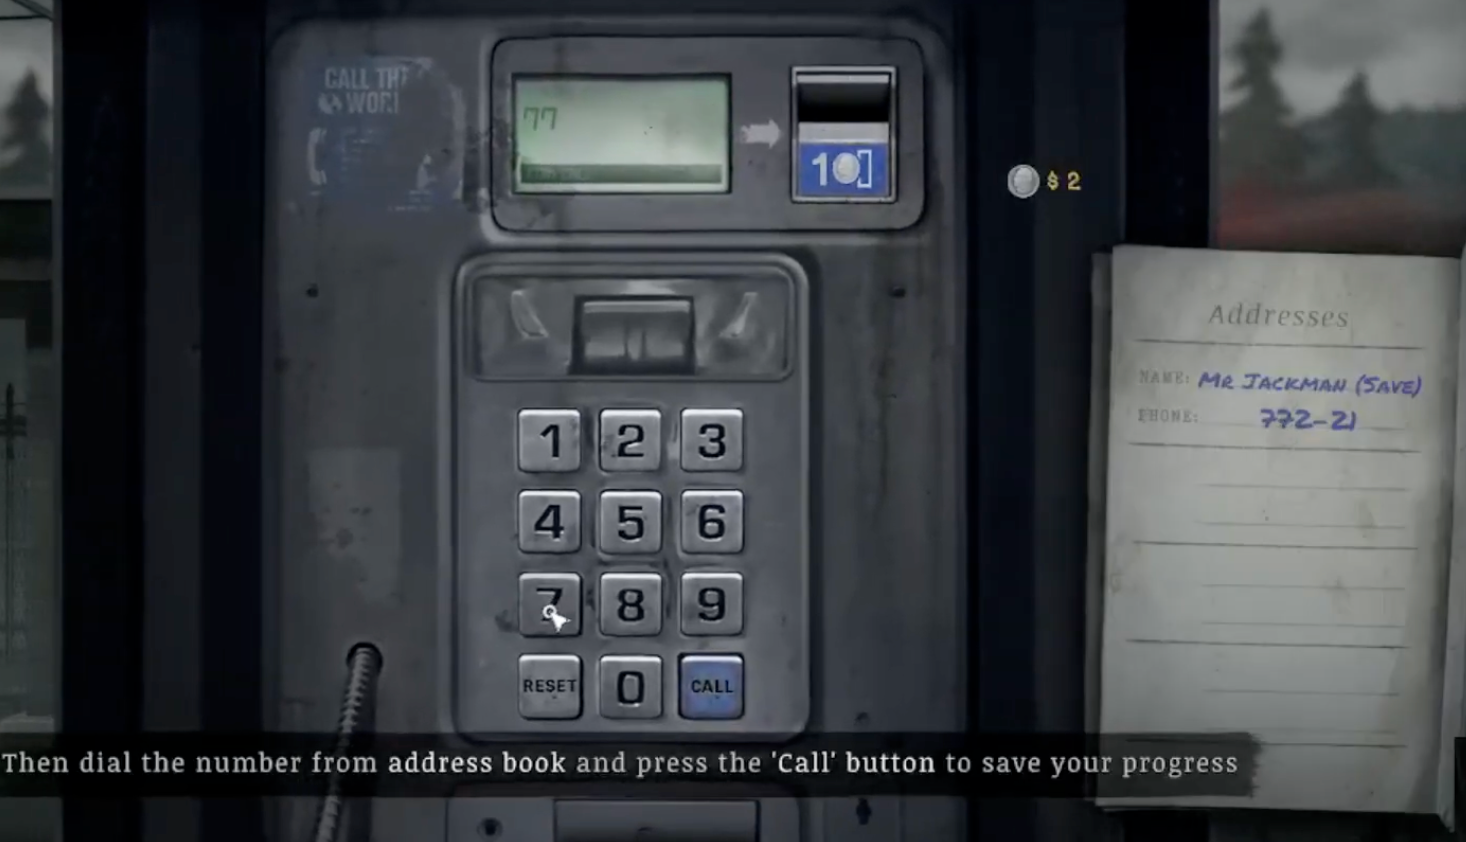
For a shorter version of this mechanic, use the payphone and coin save guide. Save again before the tunnel encounter if you still have a coin.
Take Eddie's dossier and the camera
Check the car trunk before moving deeper into town. Eddie Velvet's dossier confirms who Walker is looking for, and the camera becomes one of the demo's most useful navigation tools.
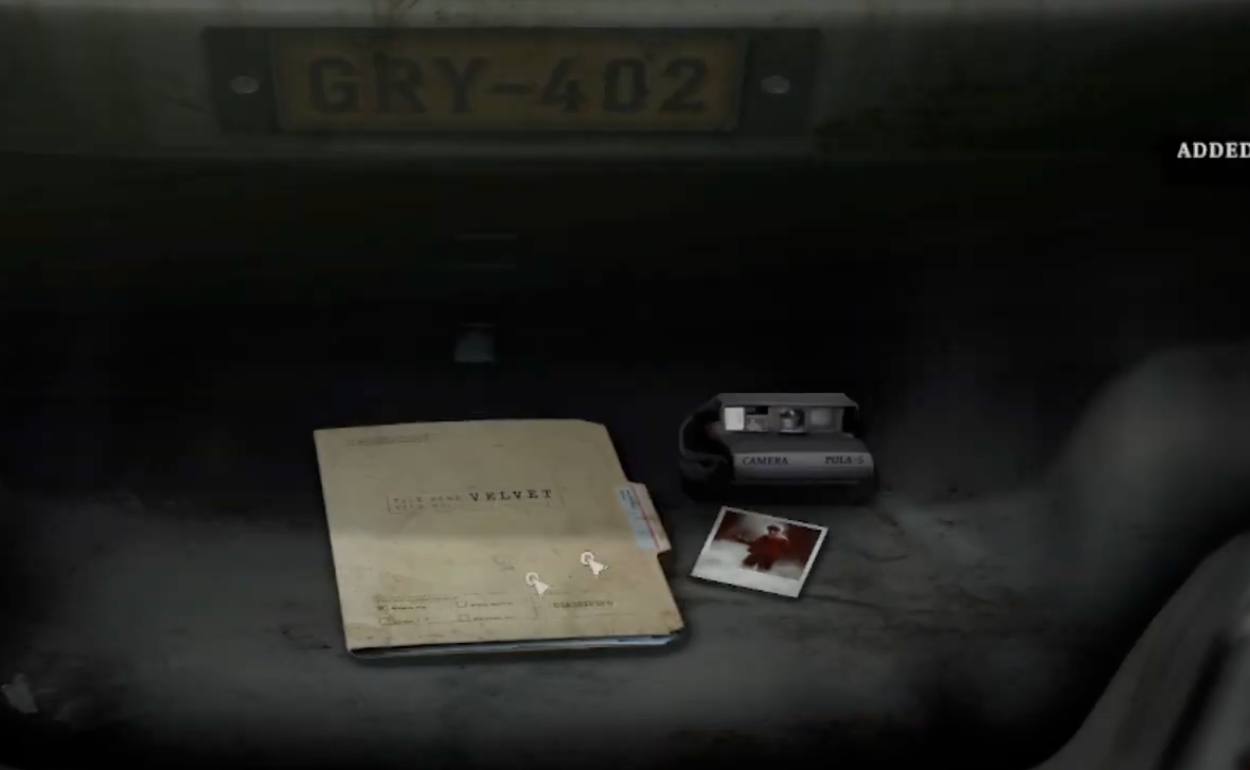
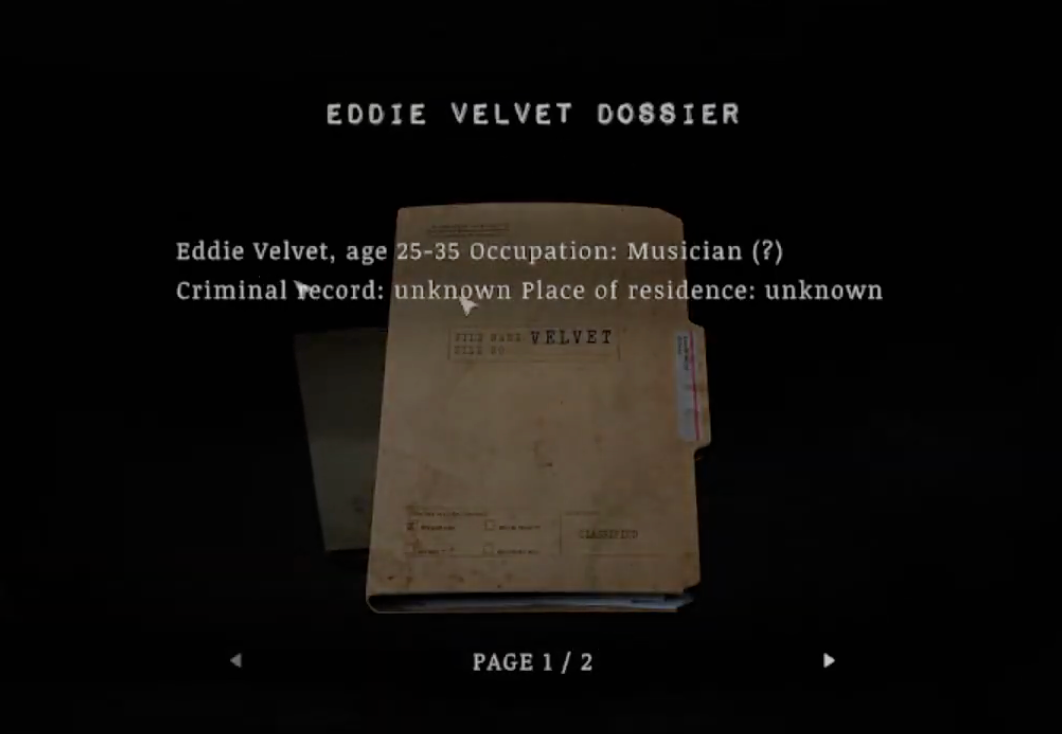
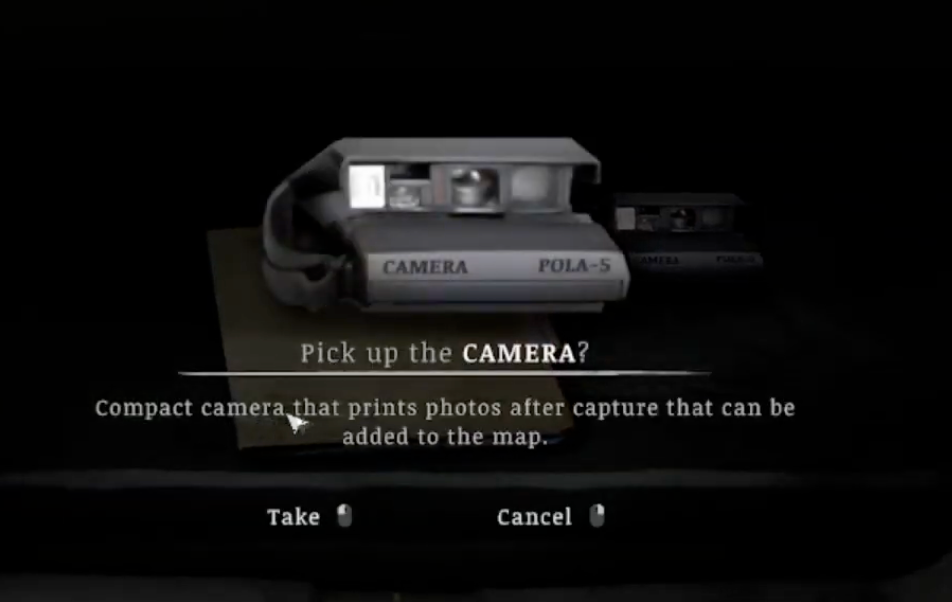
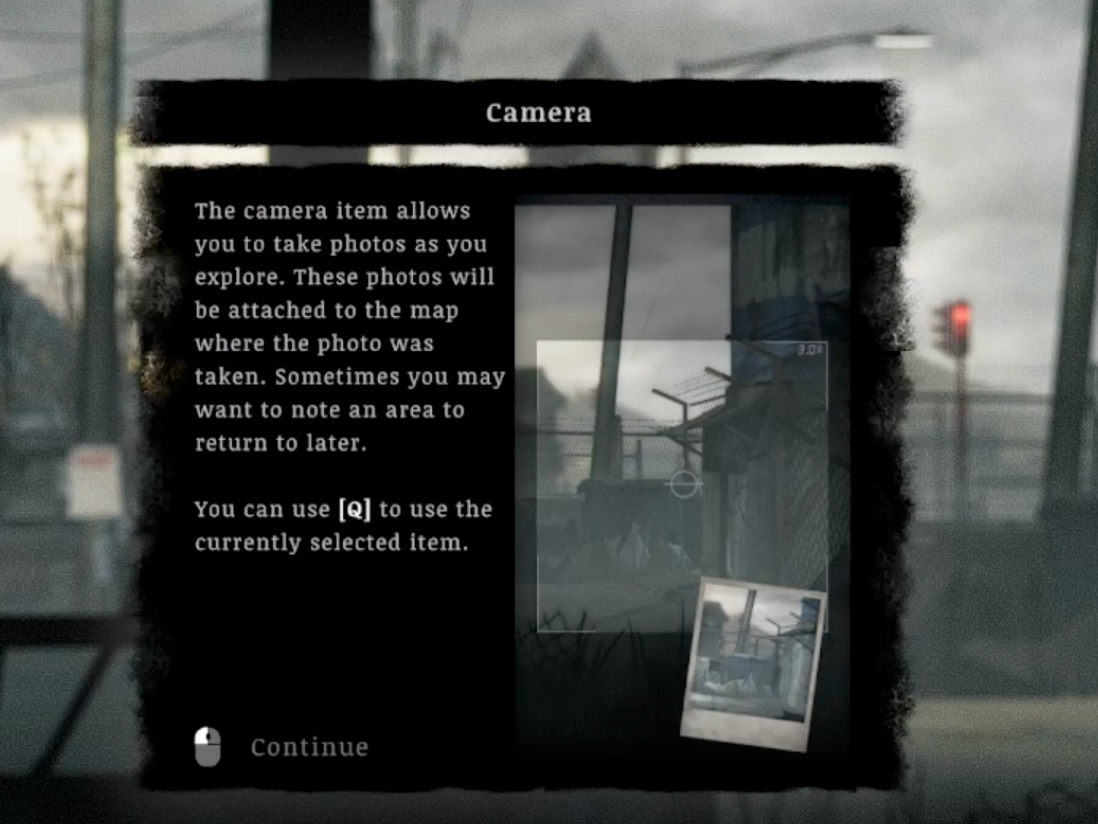
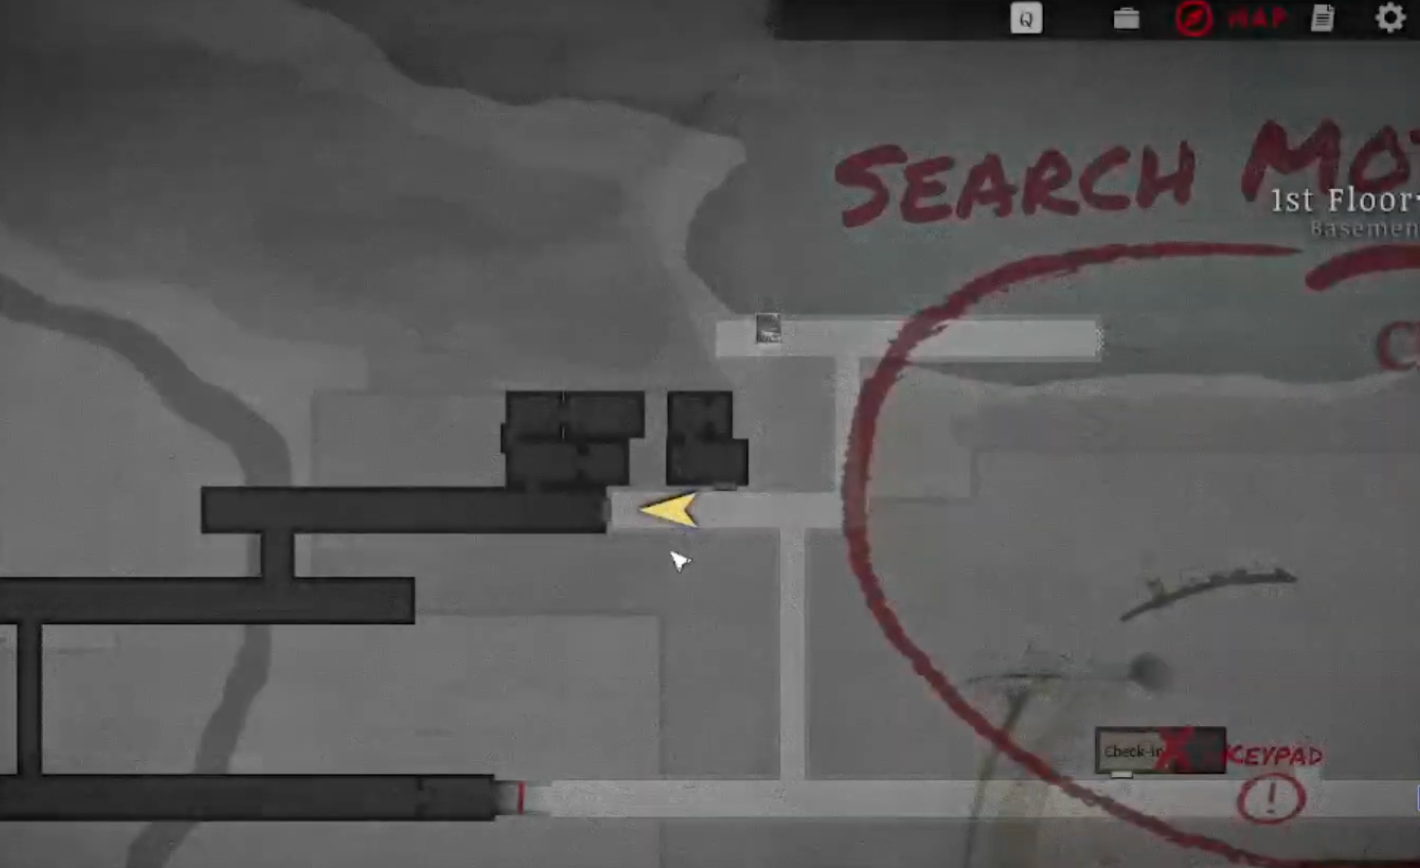
Photos attach to the map at the location where they were taken. Whenever you find a rusted padlock, a blocked route, or an object that needs a later tool, photograph it. The marker gives you a visual reminder when backtracking opens up.
For the confirmed case facts revealed by the dossier—without identity theories or retail-story speculation—open the Eddie Velvet story file.
Reach the motel, then search the General Store
The Crimson Bear Motel gate asks for a guest number. Do not treat a number from a video or screenshot as the answer. Continue the route until you can inspect the motel's guest ledger, then use the number displayed in your own game.
The codes guide keeps every keypad clue in one place while preserving run-specific values.
If you reach the keypad before finding the ledger, photograph the location and continue toward the General Store. Rusted padlocks are another reason to use the camera. The knife is not the solution; mark the lock and return after obtaining a firearm.
Solve the General Store meat-locker clue
Inside the General Store, read both the wall calendar and the code note. The note gives a formula rather than one permanent number: add 23 to the current in-game day of the month.
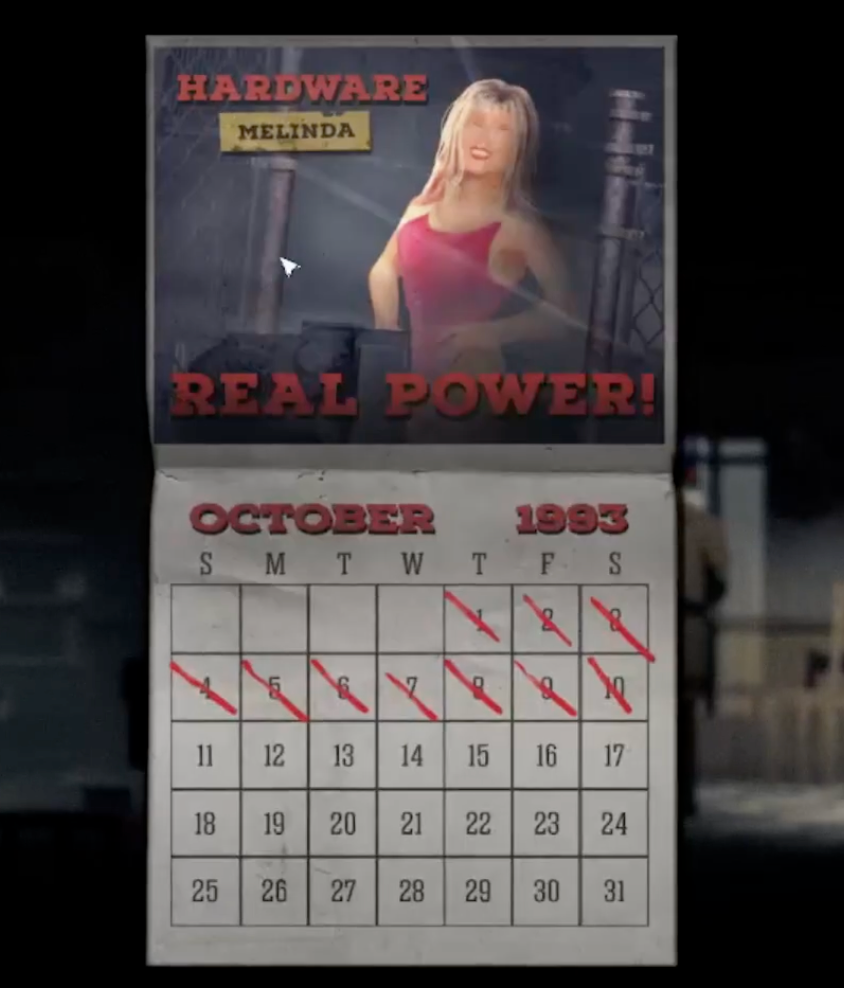
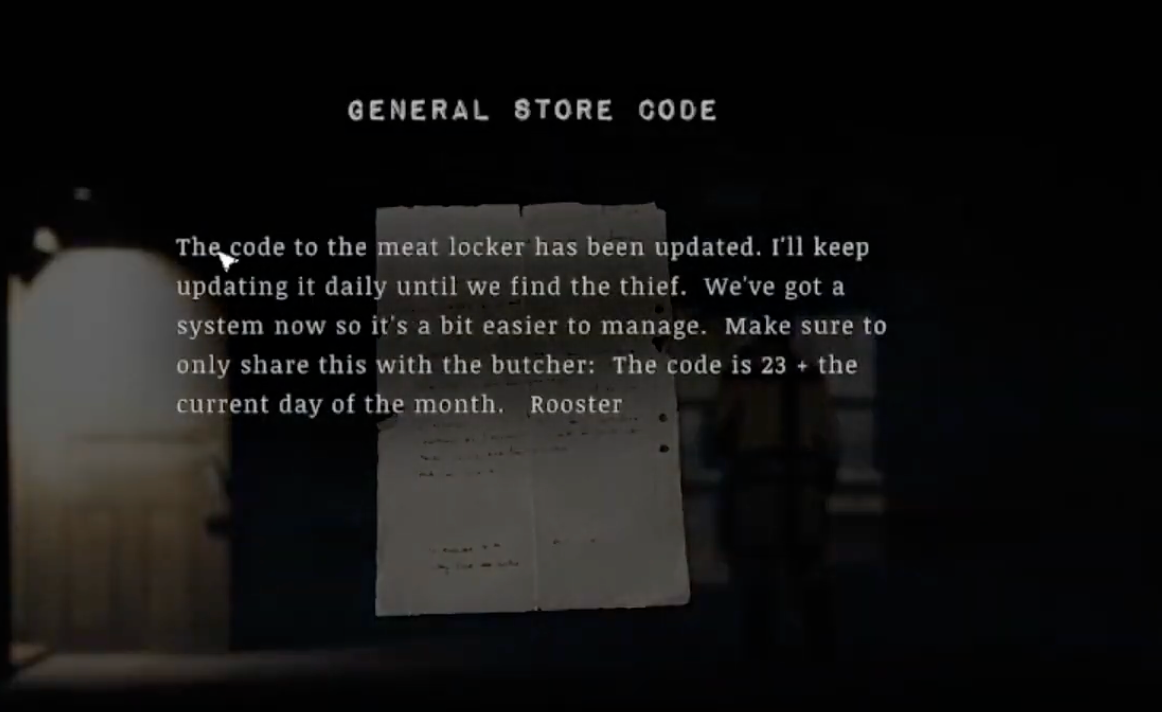
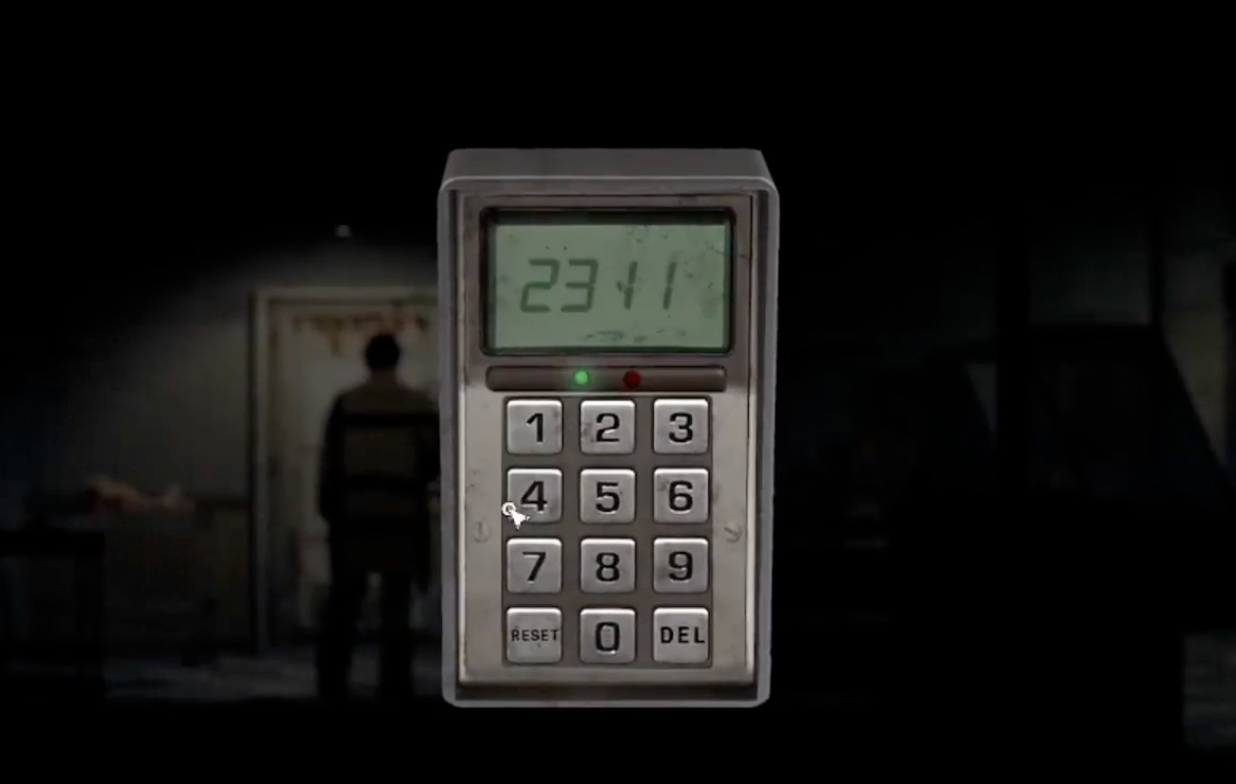
Use the calendar to identify the current day, do the addition, and enter the result on the nearby keypad. The reusable answer is the formula shown in the game, not a number copied from somebody else's run.
See the meat-locker code explanation if you only need the formula and clue locations.
Take the boxcutter and manage durability
The dead dog encounter leads to the boxcutter, Walker's first melee weapon. Equip it from the inventory before relying on melee attacks. It uses stamina and loses durability, so save it for enemies or breakable obstacles that can actually be cut.
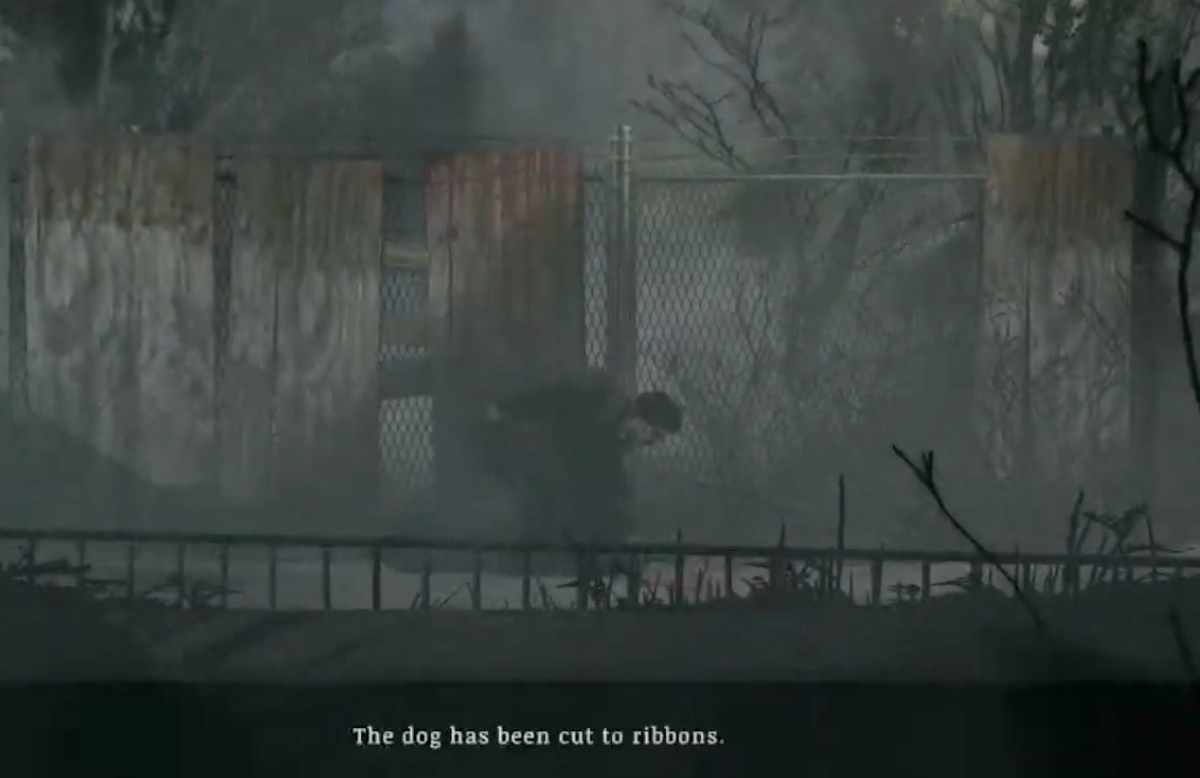
Damaged weapons become less effective and eventually need repair materials. Do not spend boxcutter durability testing it against rusted padlocks.
Copy Eddie's guest number from the ledger
The motel ledger confirms that Eddie Velvet is staying in the Grizzly Suite. It also provides the guest number required by the motel keypad. Copy the number displayed in your own game before closing the inspection screen.
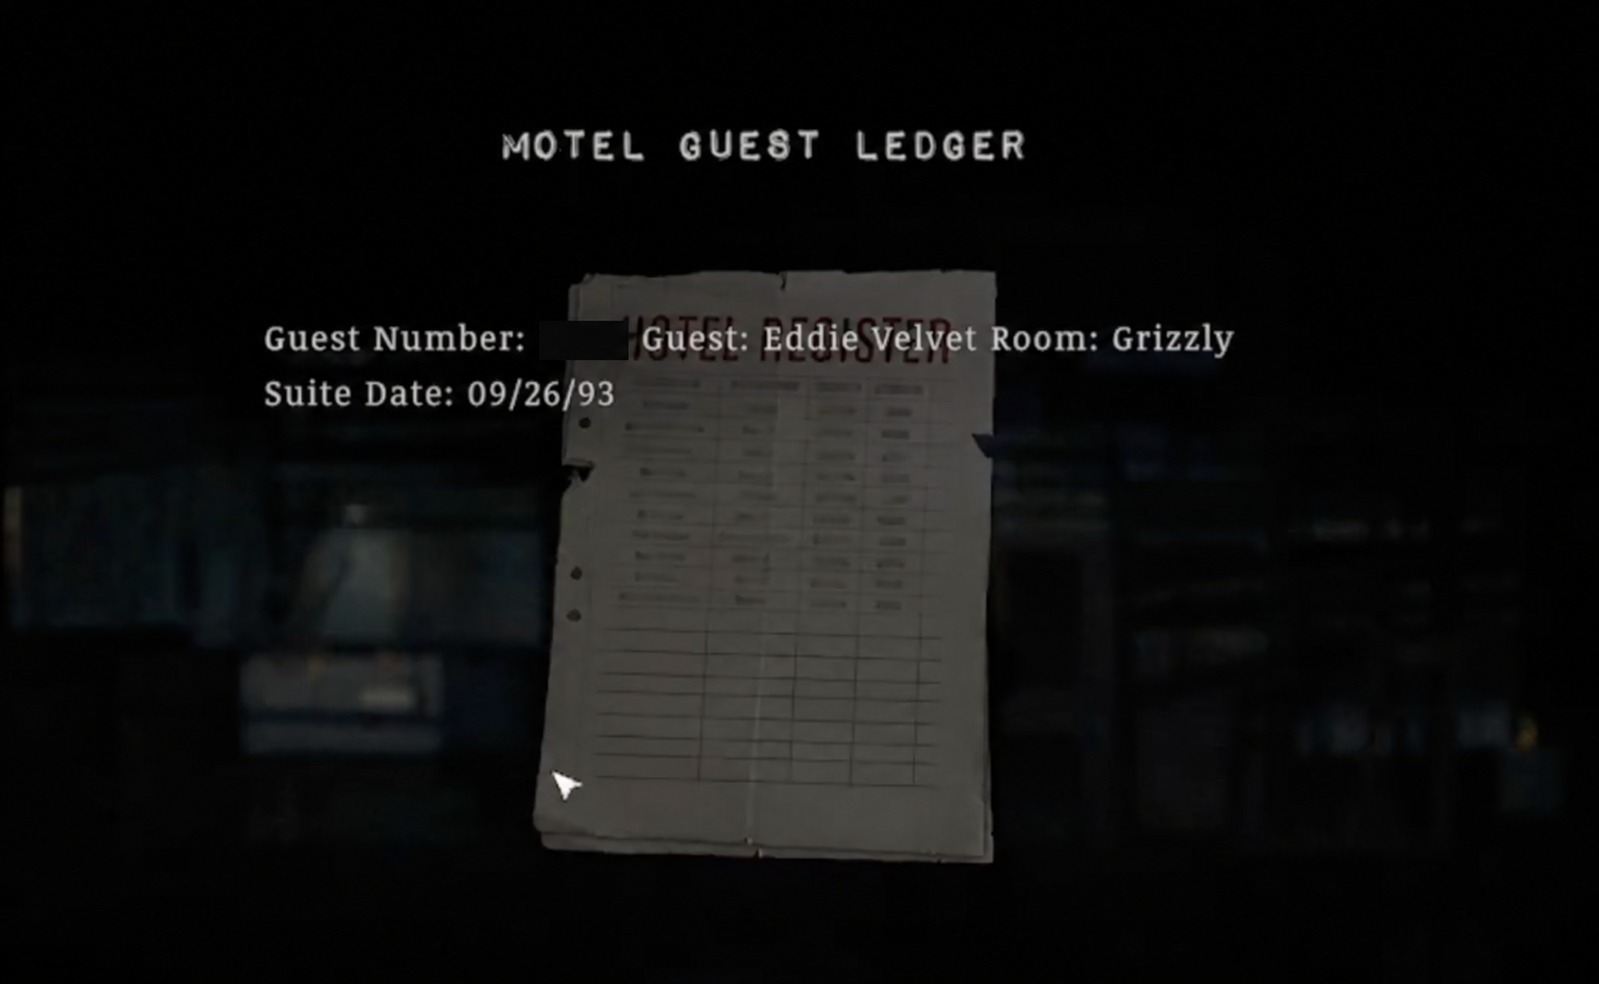
The motel code entry explains why the screenshot does not expose a single-run value.
Make the guest-room call
Use the motel payphone and the Crimson Bear guest-room entry in the address book to place the call. Complete the conversation at the guest-room door. The caller gives you the supply-locker combination as part of this exchange.
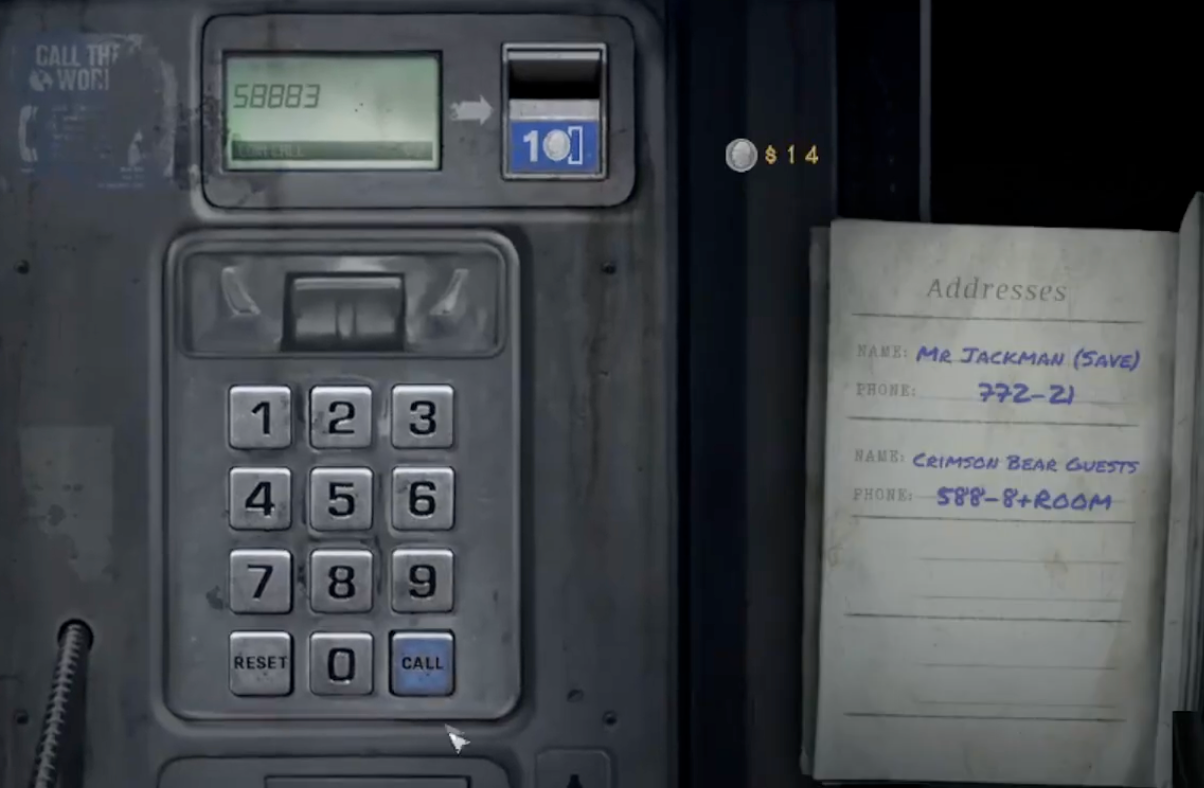
Return to the supply locker after the call and enter the combination you received. Do not rely on the code from a recorded playthrough when the game already gives you a direct clue path.
If you are returning only for the weapon, use the supply-locker and shotgun clue.
Take the shotgun and reopen marked routes
Collect the shotgun and ammunition from the supply locker. Reload before leaving and make enough inventory space for the weapon and shells.
Backtrack to the rusted padlocks you marked earlier. A gunshot can break these locks, so the supported route is to return with a firearm rather than testing the boxcutter.
Follow the Rabbit Hole sequence
After the motel and firearm route, continue through the lower motel spaces and the Rabbit Hole sequence. Speak with the bar's occupants, take a seat when the scene requires it, and follow the “A Ride to the Stars” lead. The sequence points Walker toward the cable car area and advances the case beyond the motel.
Keep inventory space available before moving on. The demo's backtracking can surface more ammunition, healing, upgrades, and optional items, but not every marked obstacle must be resolved before the main route continues.
Prepare for the tunnel encounter
Save at the nearest payphone before entering the tunnel. Reload both firearms, carry healing, and make sure the boxcutter still has enough durability for smaller shadow enemies.
If the phone flow is unclear, review how saving works before committing your last coin.
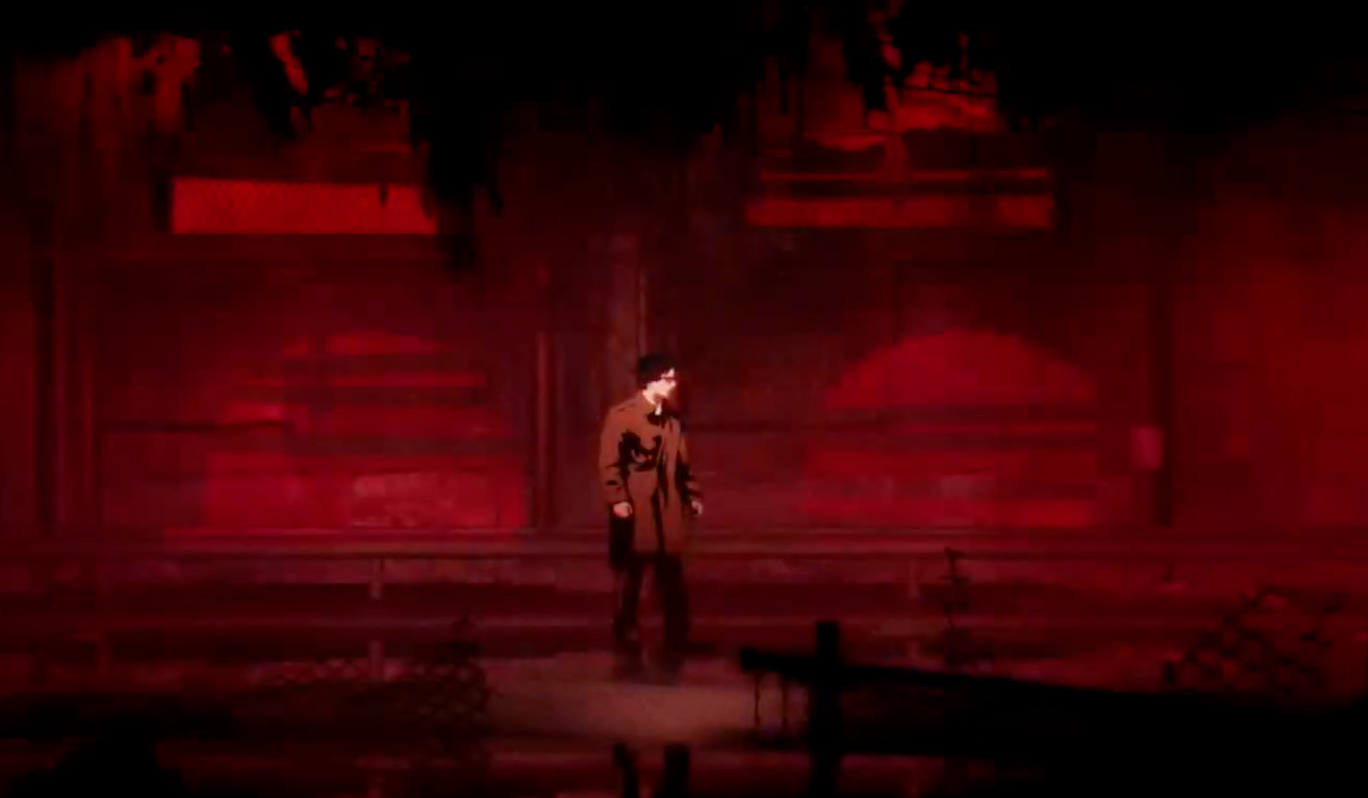
During the fight, avoid spending shotgun shells on every shadow. The reviewed run succeeds by conserving heavier ammunition for the main creature and using the melee weapon on smaller targets when it is safe. Create distance before reloading.
Reach the ferry ending
After the tunnel encounter, continue toward the ferry controls and follow the remaining calls and route prompts. Starting the ferry closes the current demo with a “to be continued” transition.
Before leaving, use nearby storage if needed and collect anything you intentionally left in the final area. The retail game may change where the demo boundary falls, so do not treat the ferry as proof of the full game's chapter structure.
Missable checks before the demo ends
- Drink the diner coffee for the stamina upgrade.
- Take both Eddie's dossier and the camera from the car trunk.
- Photograph locked or tool-gated routes before backtracking.
- Copy clue values from your own game instead of a video.
- Reload weapons and keep healing before the tunnel.
- Use storage boxes to manage the larger shotgun and route items.
Evidence and image credits
The route was checked against two player walkthroughs and the official Steam demo page. The 18 screenshots on this page come from the Demo Alley footage and are used as attributed gameplay evidence; one ledger image is a derived redacted copy so a run-specific number is not presented as universal.
Last verified: September 27, 2026.